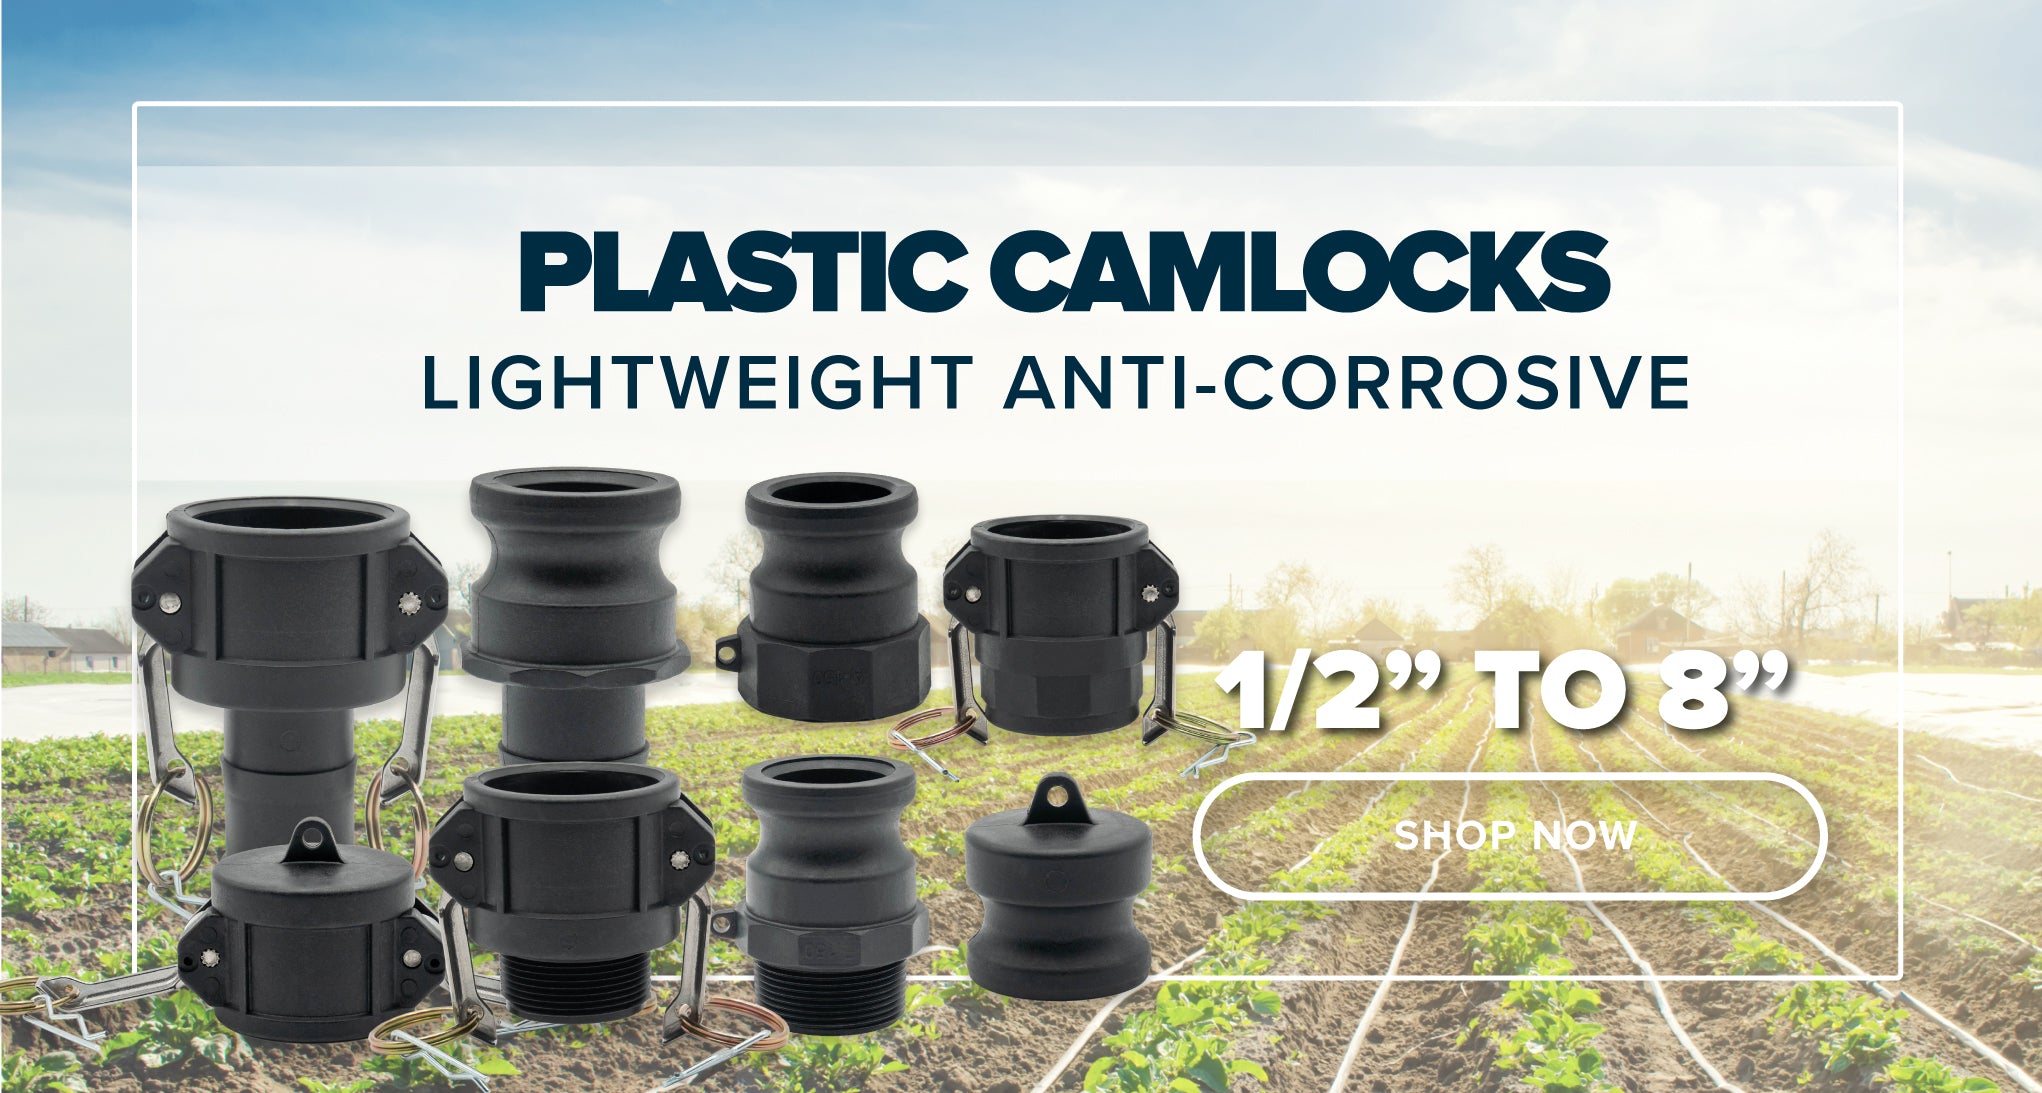
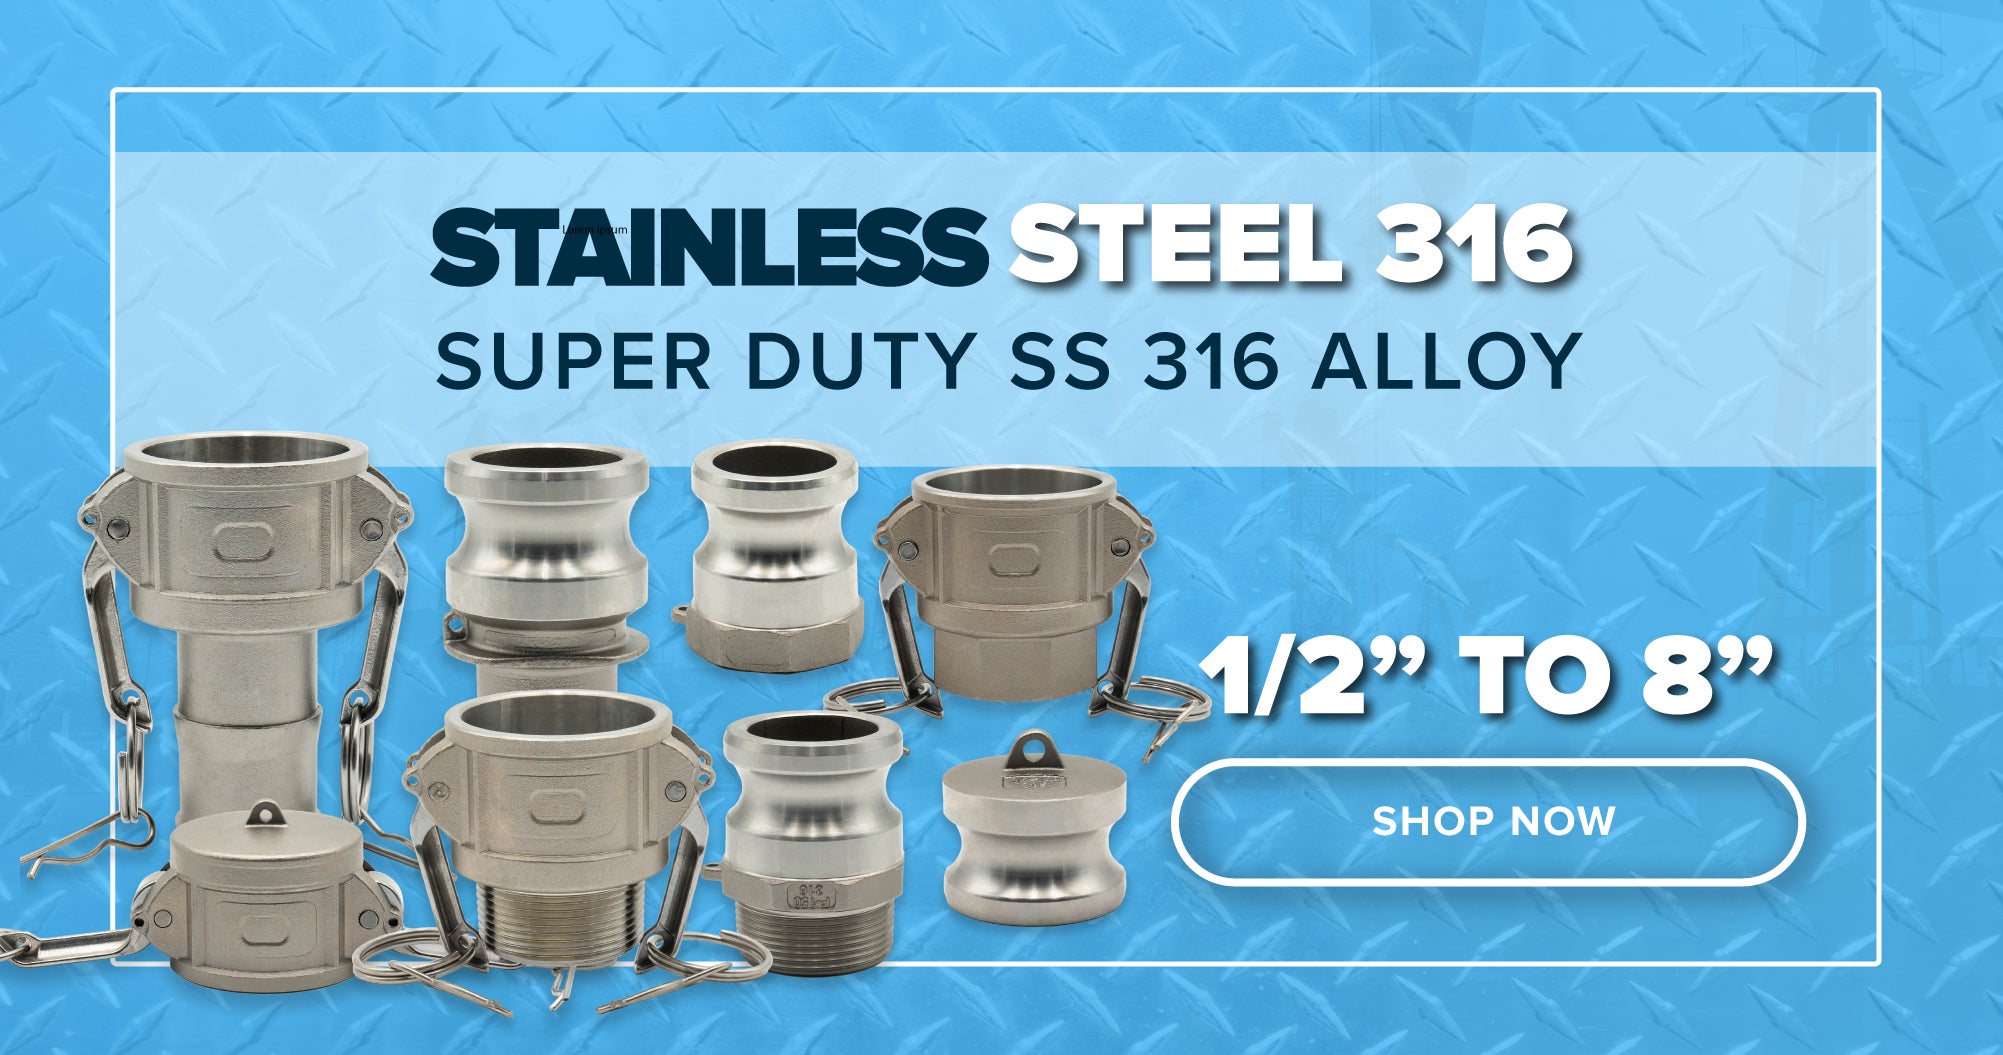
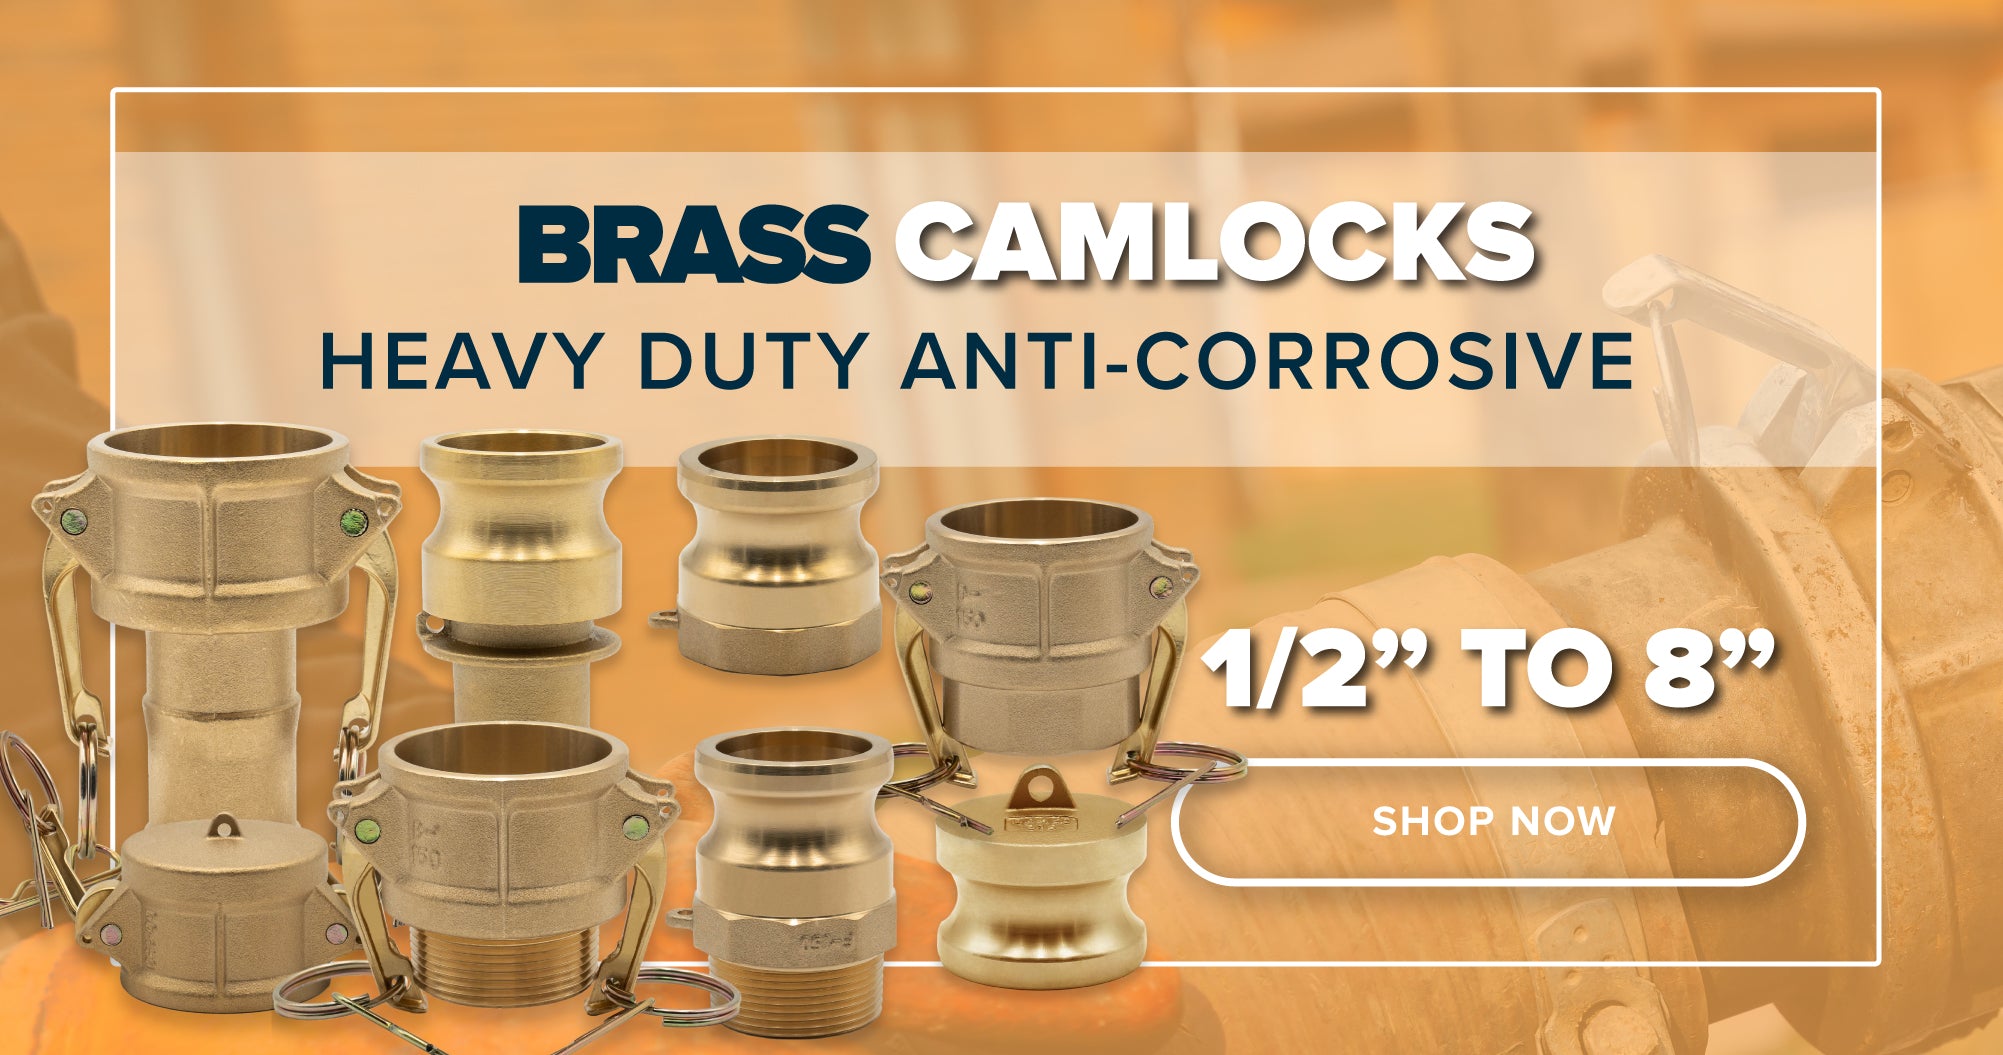
Fitting a camlock to a hose is a straightforward process that involves connecting the camlock fitting (male adapter) to the hose and then securing it with a female coupling. Camlock fittings are designed for quick and easy connections, making them a popular choice in various industries. Below are step-by-step instructions on how to fit a camlock to a hose:
Step 1: Gather the Necessary Components and Tools: Before you start, ensure you have the following components ready:
- Camlock fitting (male adapter)
- Hose with the appropriate hose barb or threaded end
- Female coupling (matching the camlock type)
- Gasket or seal (if required)
- Adjustable wrench (if needed)
Step 2: Prepare the Hose: If your hose has a hose barb, ensure that it matches the type of camlock fitting you're using. If the hose end is threaded, make sure it matches the threading of the camlock fitting. You may need to use a hose clamp or other suitable method to secure the hose to the hose barb.
Step 3: Insert the Camlock Fitting: Insert the male adapter (camlock fitting) into the hose's open end. Ensure that the cam arms are aligned with the hose's opening for easy insertion. Push the fitting in until it's snug against the hose end.
Step 4: Attach the Gasket: If your camlock system requires a gasket or seal to ensure a leak-free connection, place the gasket onto the camlock fitting's face. The gasket provides a tight seal between the camlock fitting and the female coupling.
Step 5: Connect the Female Coupling: Hold the female coupling and align its grooved end with the camlock fitting's cam arms. Push the coupling onto the camlock fitting until it fits snugly. You'll feel resistance as the cam arms engage with the grooves in the coupling.
Step 6: Secure the Connection: To secure the connection, rotate the cam arms clockwise until they lock into place over the female coupling's grooves. The locking mechanism ensures that the coupling remains securely attached to the camlock fitting, preventing accidental disconnection during fluid transfer.
Step 7: Check for Leaks: After securing the connection, visually inspect the fitting and coupling to ensure they are aligned properly and securely locked together. Turn on the fluid source and observe the connection for any signs of leaks. If you notice any leaks, turn off the fluid source and double-check the connection for proper alignment and engagement.
Step 8: Disconnecting the Camlock: When you need to disconnect the camlock, follow these steps:
- Turn off the fluid source to prevent leaks.
- Rotate the cam arms counterclockwise to unlock them from the grooves in the female coupling.
- Gently pull the female coupling away from the camlock fitting.
- If needed, remove the gasket from the camlock fitting and store it properly.
Step 9: Maintenance and Inspection: Regularly inspect the camlock fittings, couplings, and hoses for wear, damage, or deterioration. Replace any components that show signs of wear to ensure a secure and leak-free connection.
Final Thoughts: Fitting a camlock to a hose is a relatively simple process that involves aligning and connecting the camlock fitting with the female coupling. The key steps include preparing the hose, inserting the camlock fitting, attaching the gasket (if needed), connecting the female coupling, securing the connection with the cam arms, checking for leaks, and following proper procedures for disconnection. By following these steps and considering the type of camlock system you have, you can ensure efficient, leak-resistant fluid transfer in various industrial applications.


